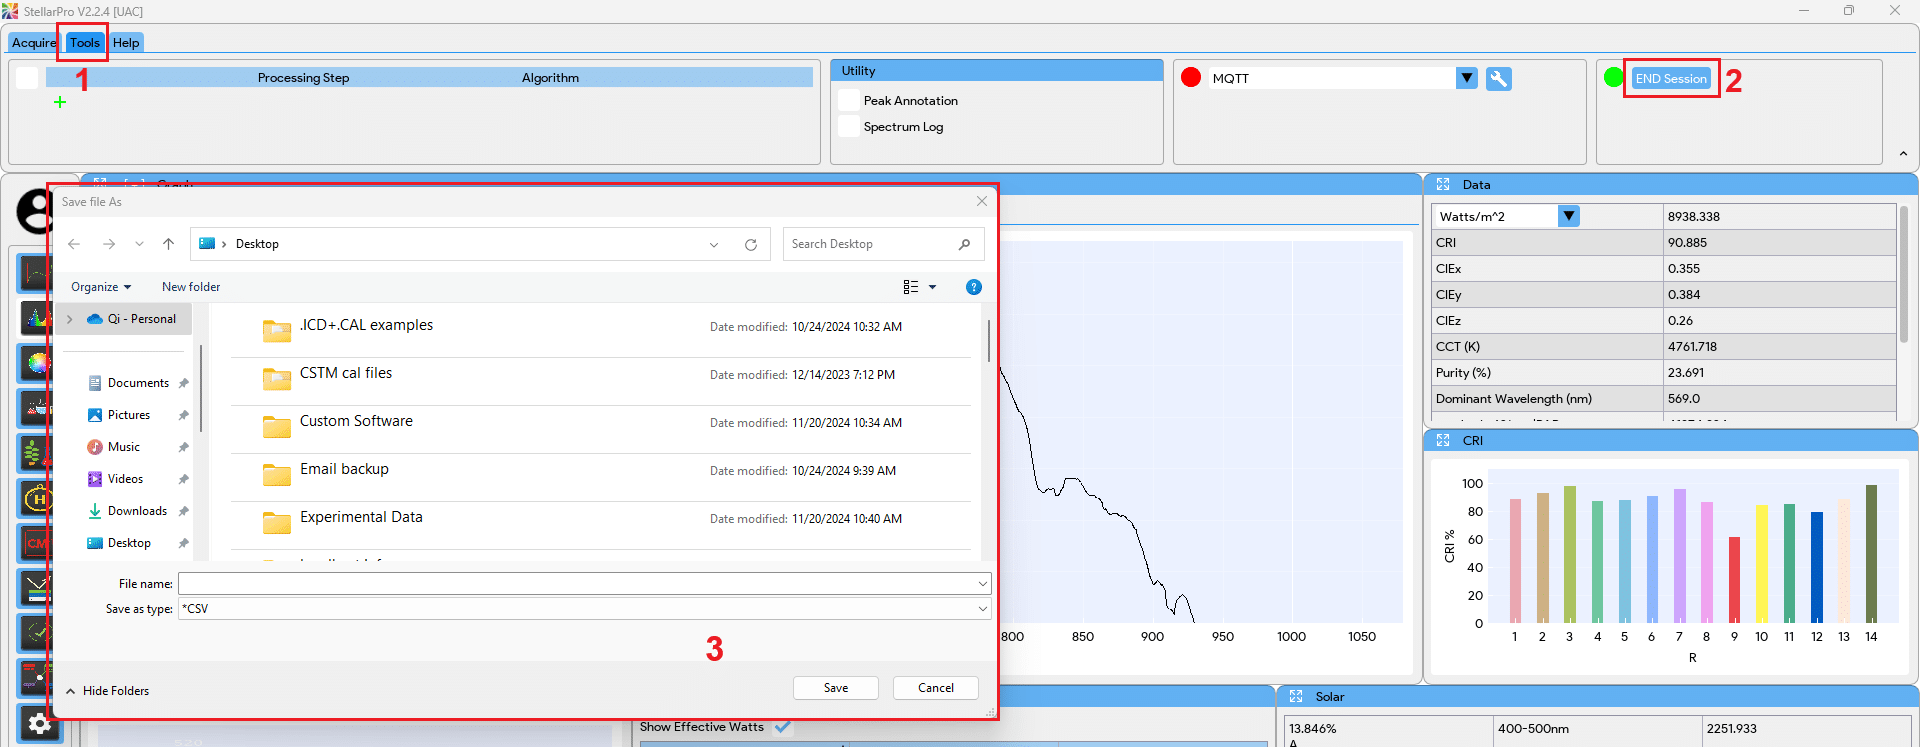
Toolbar->Tools->Session Recording
The Session Recording feature enables users to efficiently save a complete set of data results into a CSV file, including captured date and time, along with custom comments for both the entire session and each individual capture. This streamlined functionality ensures comprehensive record-keeping and easy access to session-specific details for analysis and review.
Session Recording
- Navigate to the application where you wish to use the session recording feature. Note: Once the session has started, you will not be allowed to switch to another application until the session is ended.
- In the Tools tab, click on the START Session button to start the session recording.

- A window will appear as follow to allow the user to configure session settings.
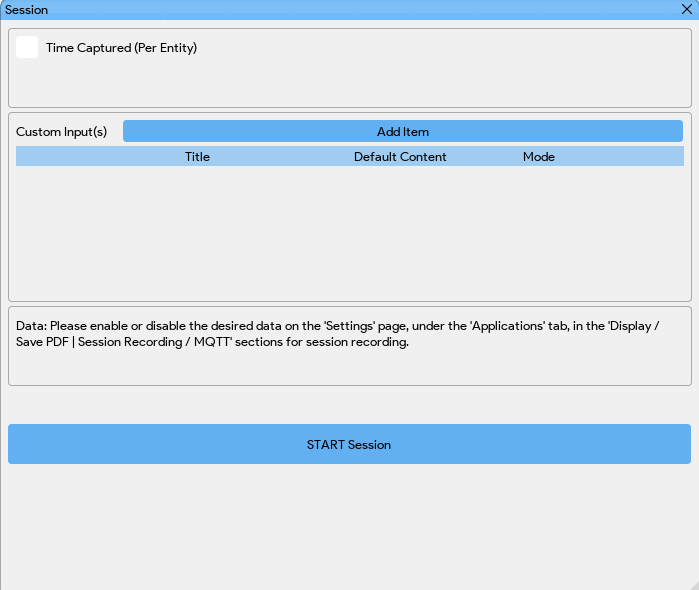
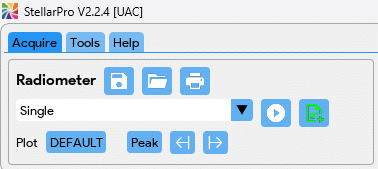
- Once the session settings are configured, click START Session. The button will toggle to END Session, and the red circle will change to a green circle, indicating the session has started. In the Acquire tab, next to the Capture button, you will see an Add Data icon
 , which allows you to add the desired data points to the report. Note: For accurate data capture, we recommend using Single Data Capture rather than Loop Capture.

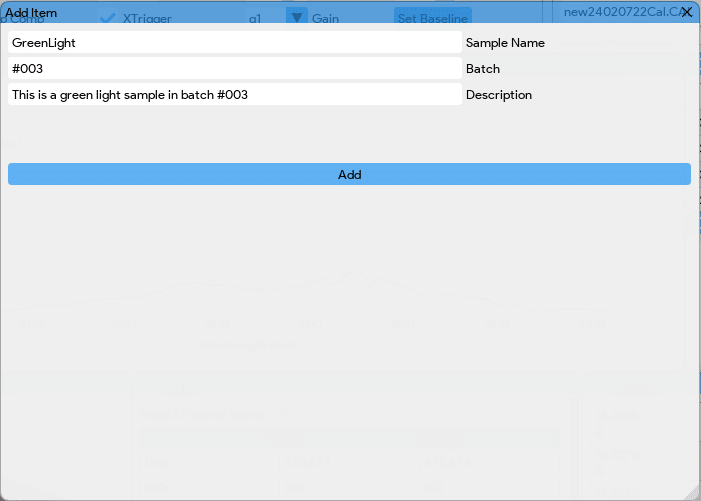
- Begin the data capture process. When you’re ready to save a data point, click the Add Data icon . If you added a Per Entity custom input item during configuration, a prompt will appear for you to enter content for that specific data point (below is an example with three custom input items: Sample Name, Batch, and Description). Repeat the process as needed to save all data points.

- When you are ready to export or end the session, navigate to Tools and click END Session. A file browser will prompt you to choose a save location and file name. Click Save to store the CSV file.

- Your data is now saved in a CSV file. Below is an example of the content for three radiometry data points.

 , which allows you to add the desired data points to the report. Note: For accurate data capture, we recommend using Single Data Capture rather than Loop Capture.