
Only administrators have the privilege to customize the PDF report. Following the steps below, you can easily tailor your PDF reports to meet your specific requirements and preferences.
- Login into an administrator account.
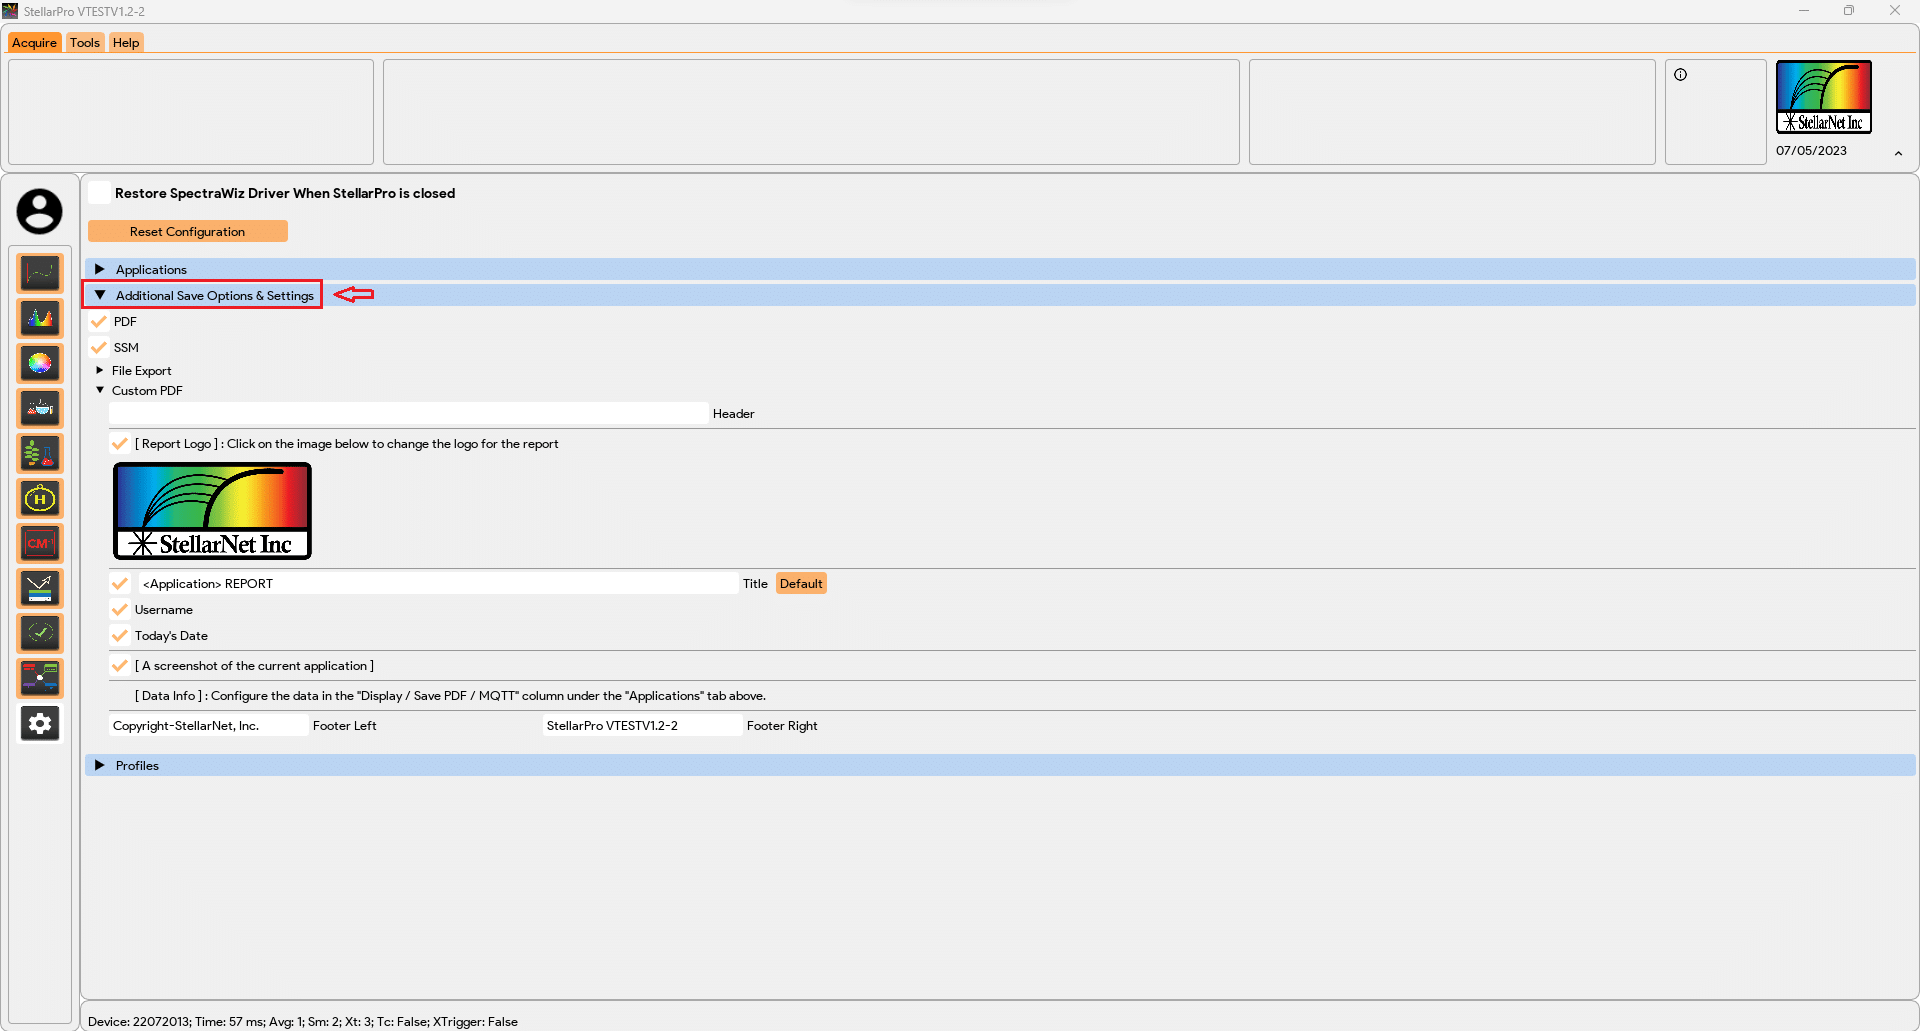
- Navigate to the “Settings”
- Expand the “Additional Save Options & Settings” tab.
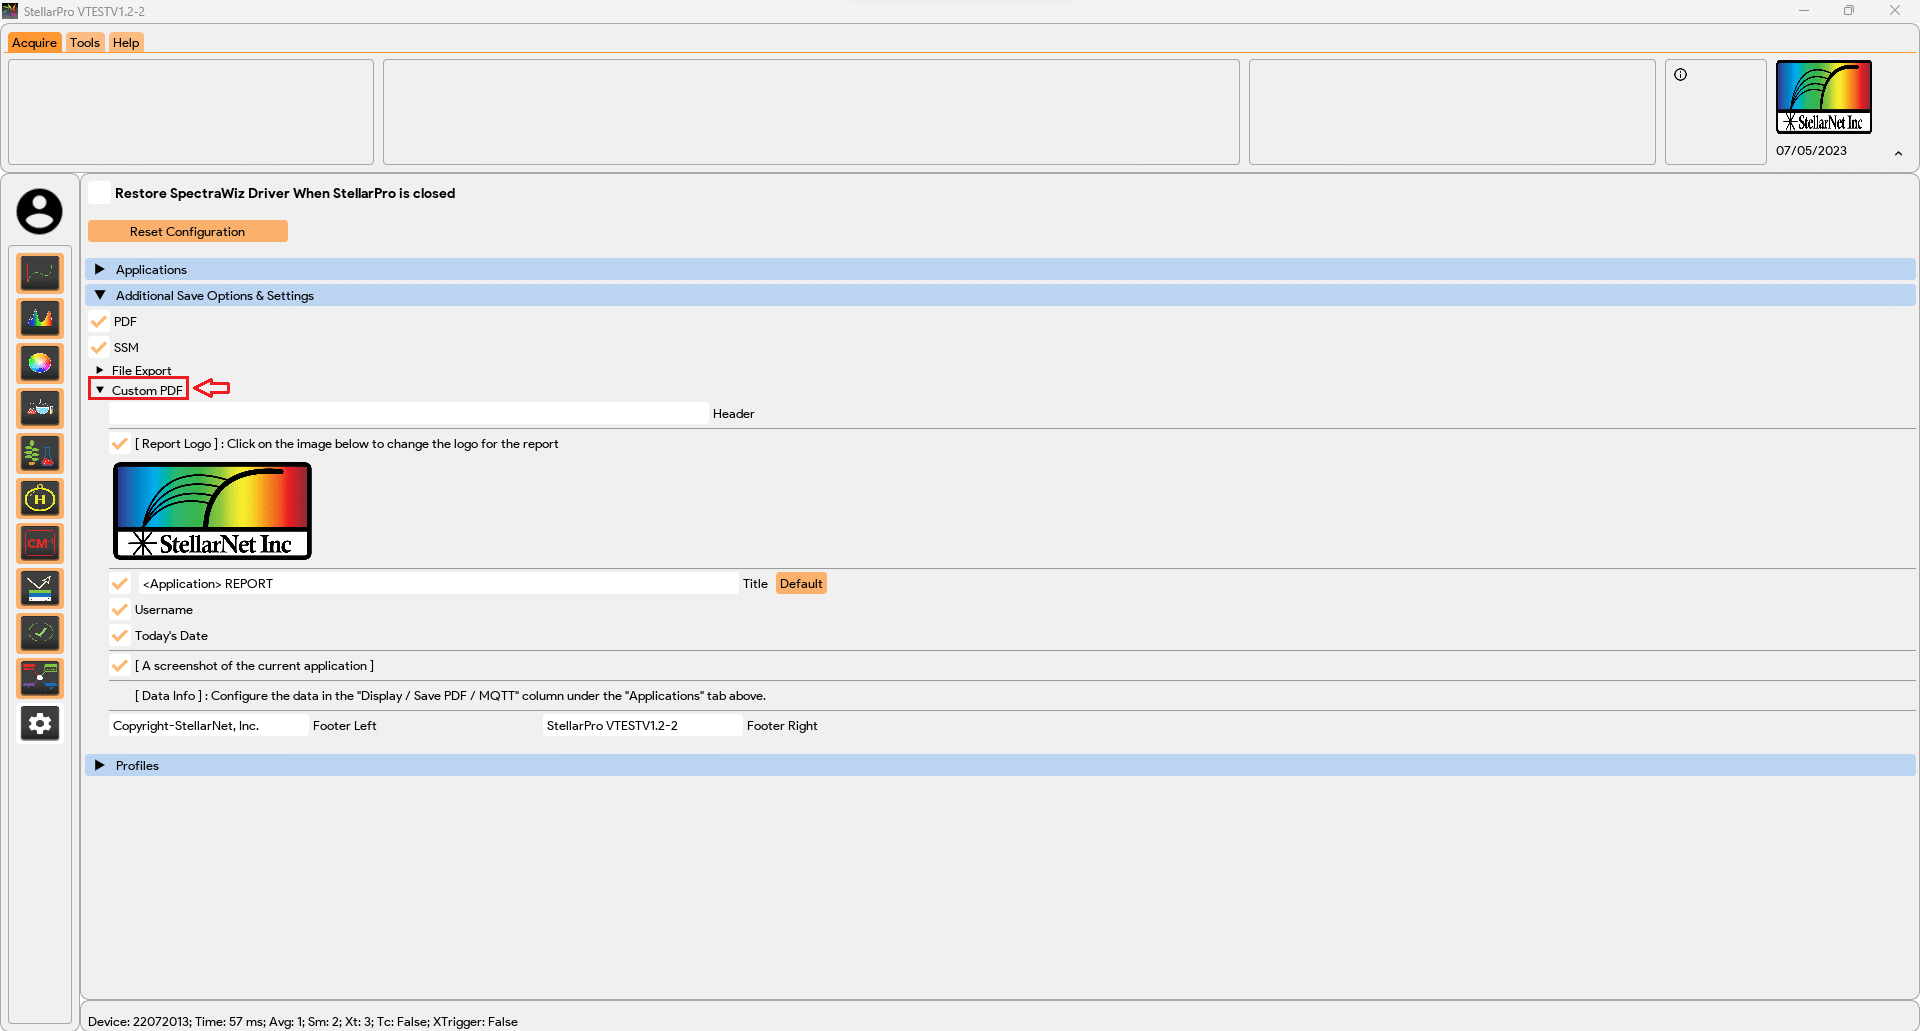
- Expand the “Custom PDF” tab.
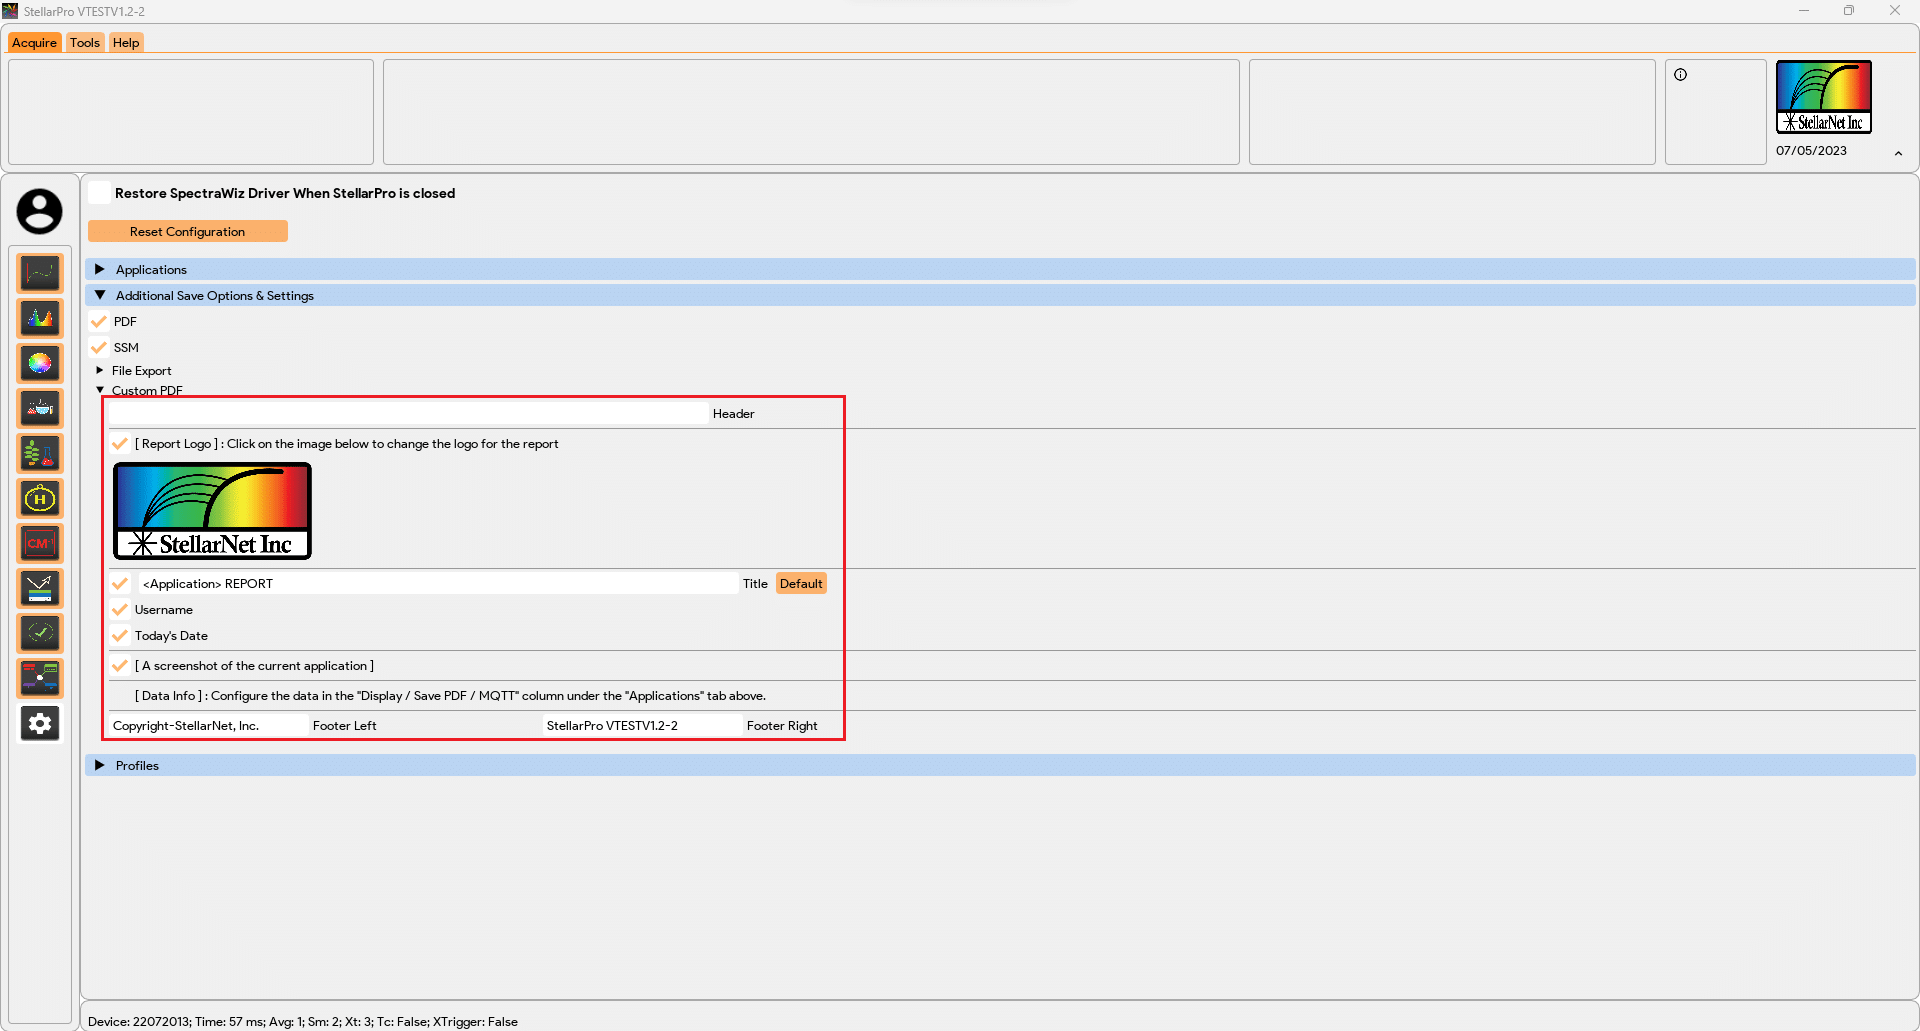
- You’ll find a list of customizable report items.
- Header: Leave it empty for no header. Alternatively, use the “<Application>” text to display the selected application name.
- Logo: Enable the checkbox to include a logo. You can replace the default logo by clicking on the image and selecting your desired logo.
- Title: Enable the checkbox to include a title in the report. Once enabled, you can use the “<Application>” text to automatically insert the application name.
- Username: Enable the checkbox to include the logged-in username in the report.
- Today’s Date: Enable the checkbox to include the current date in the report.
- Screenshot of the Current Application: Select this checkbox to capture and include a screenshot of the application.
- Data Info: Customize the display and save options for the PDF by configuring the checkboxes in the “Display / Save PDF / MQTT” column under the “Applications” tab. The same settings will be applied to both the application window display and the MQTT publish.
- Footer: The footer is not configurable and is reserved for StellarNet copyright and StellarPro version information.
- Once you have made your desired customizations, you are ready to generate your personalized PDF report. Simply navigate back to your application and save the report.