- Unzip the StellarPro application folder.
- Place the StellarPro Executable in the Applications folder or at your desired location.
- Follow the steps below to ensure the StellarPro are running as an application (one time only):
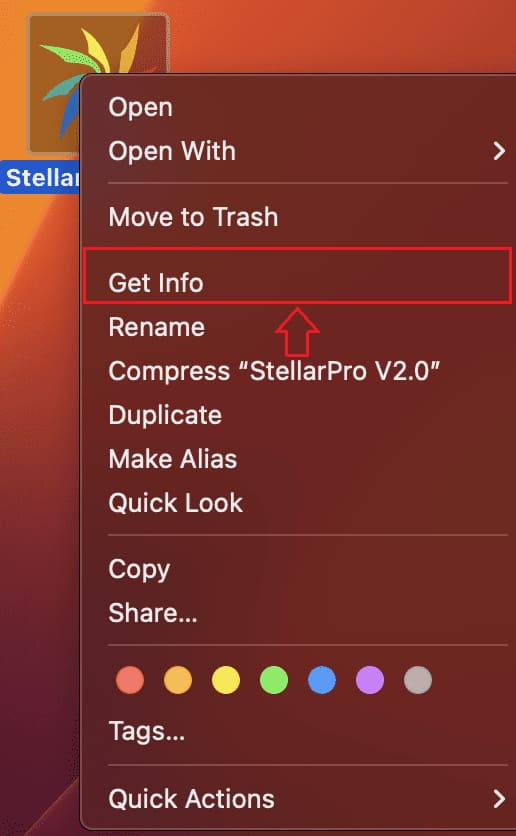
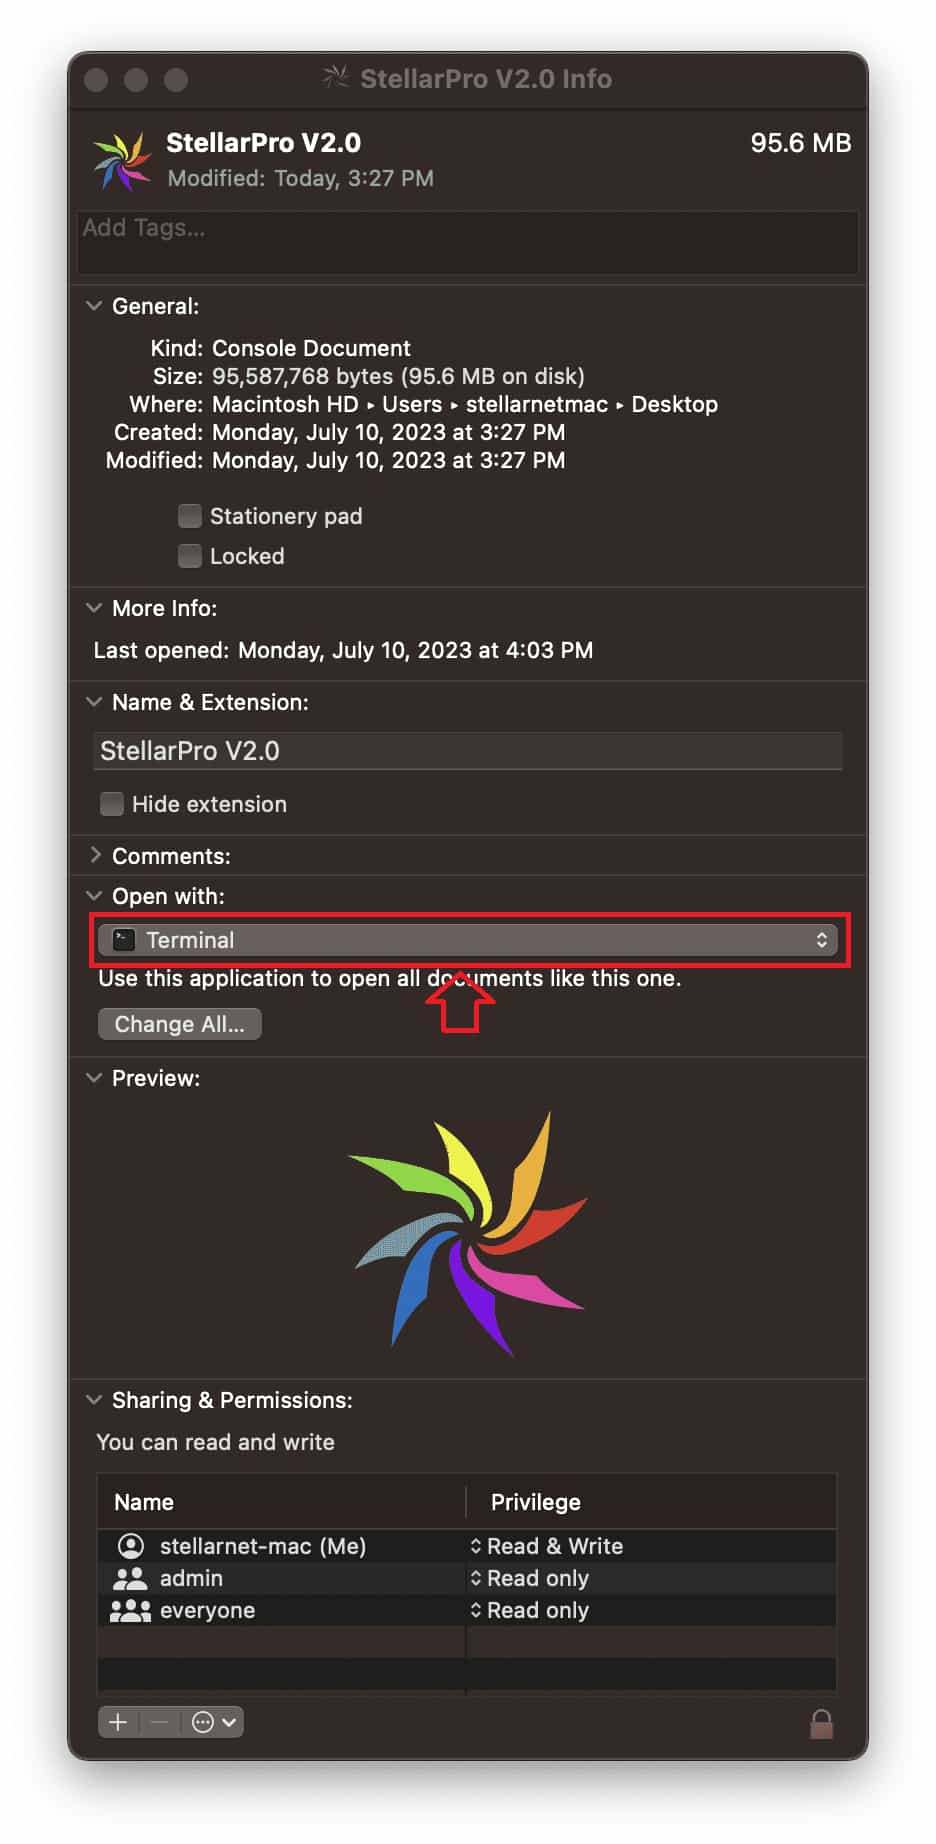
- Press Control and click on the StellarPro icon, then select “Get Info”
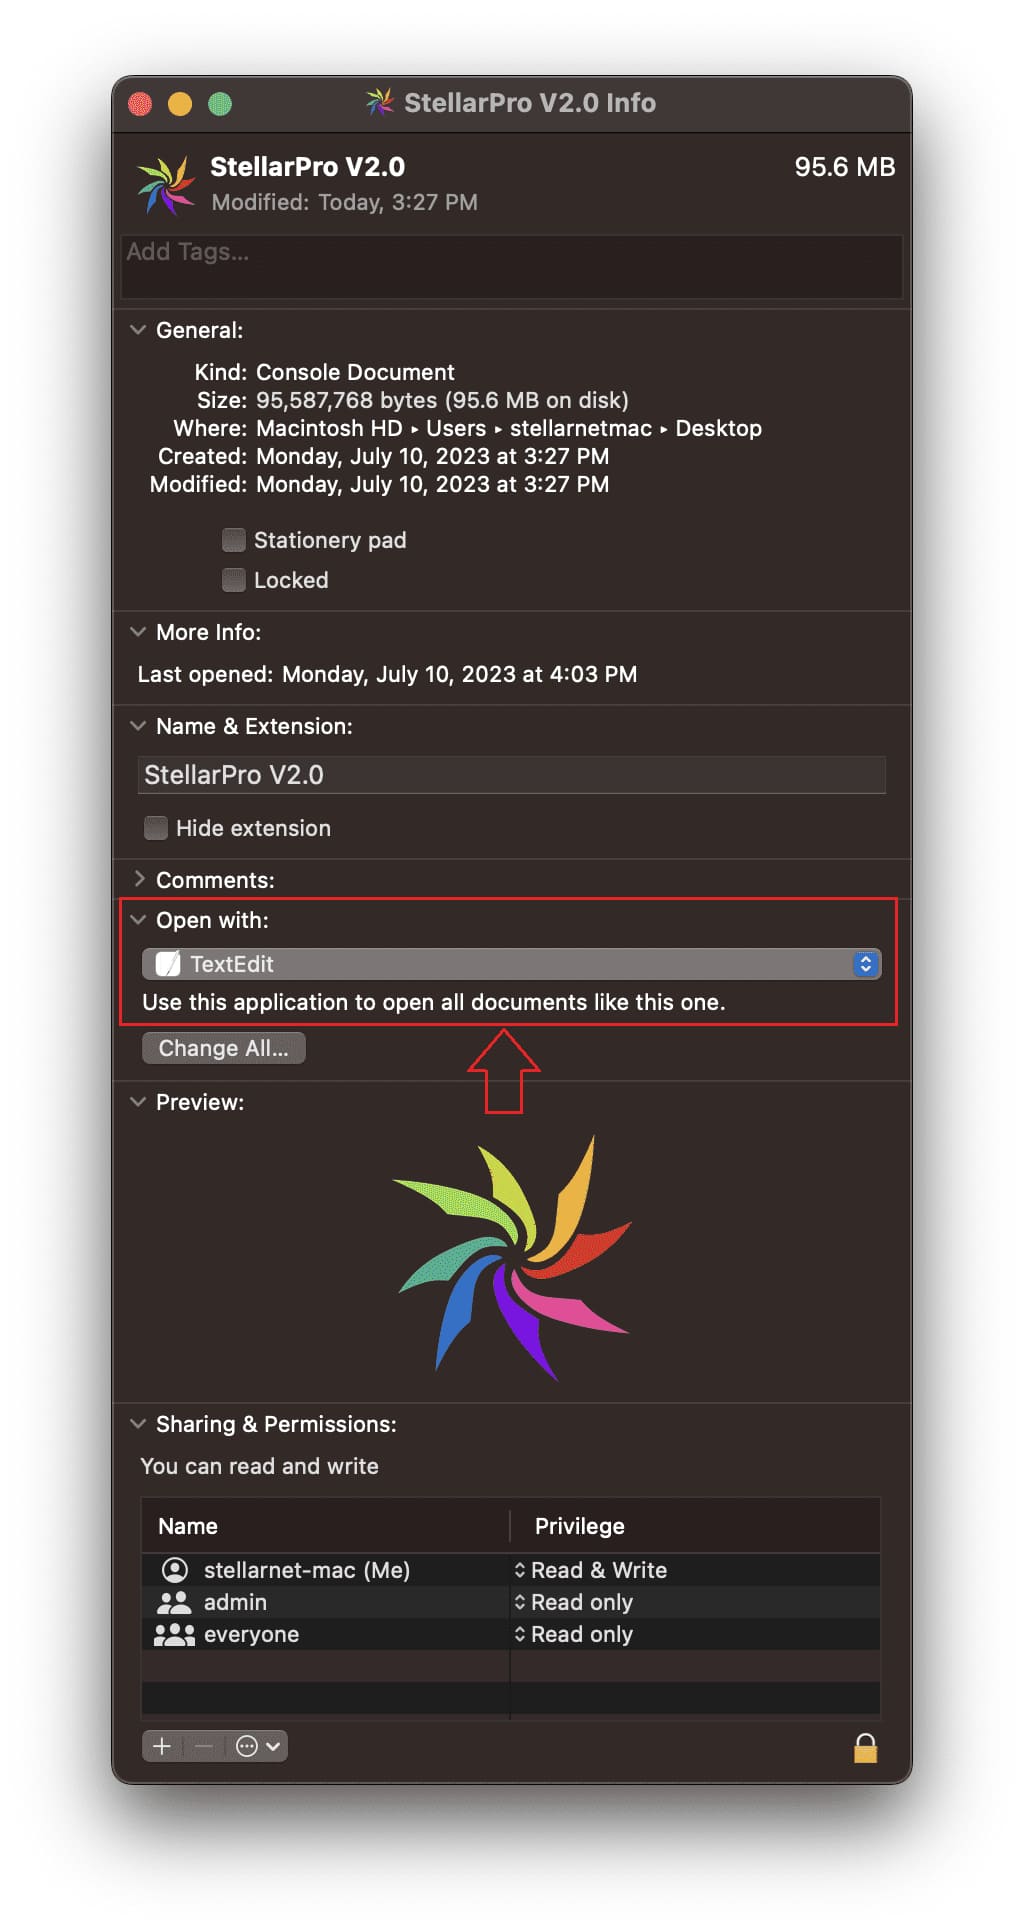
- In the Info window, find and select “Open with”
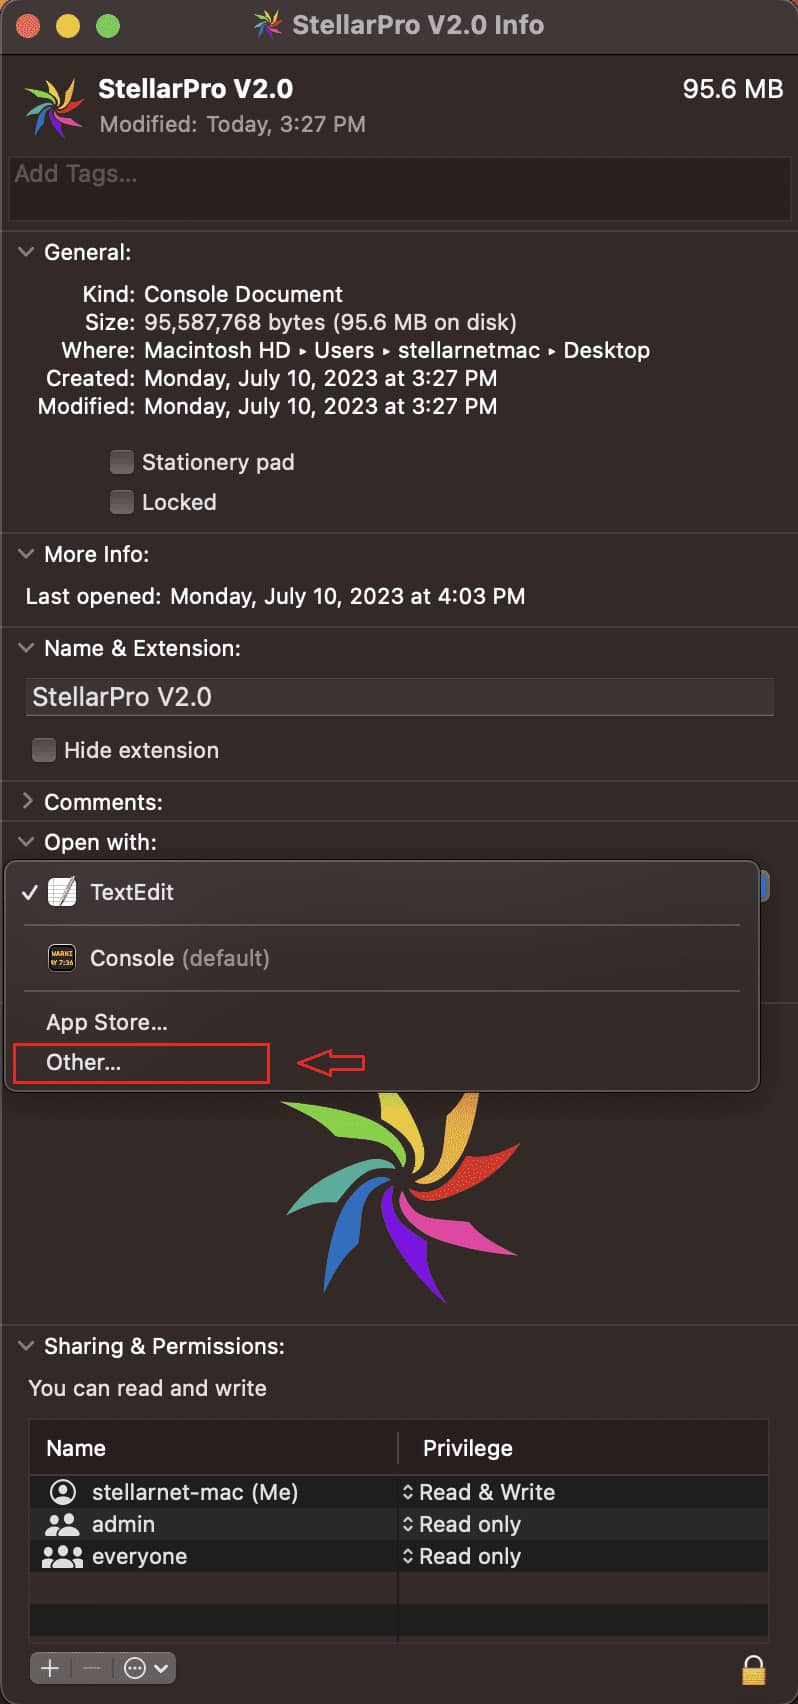
- In the dropdown, select “Other…”
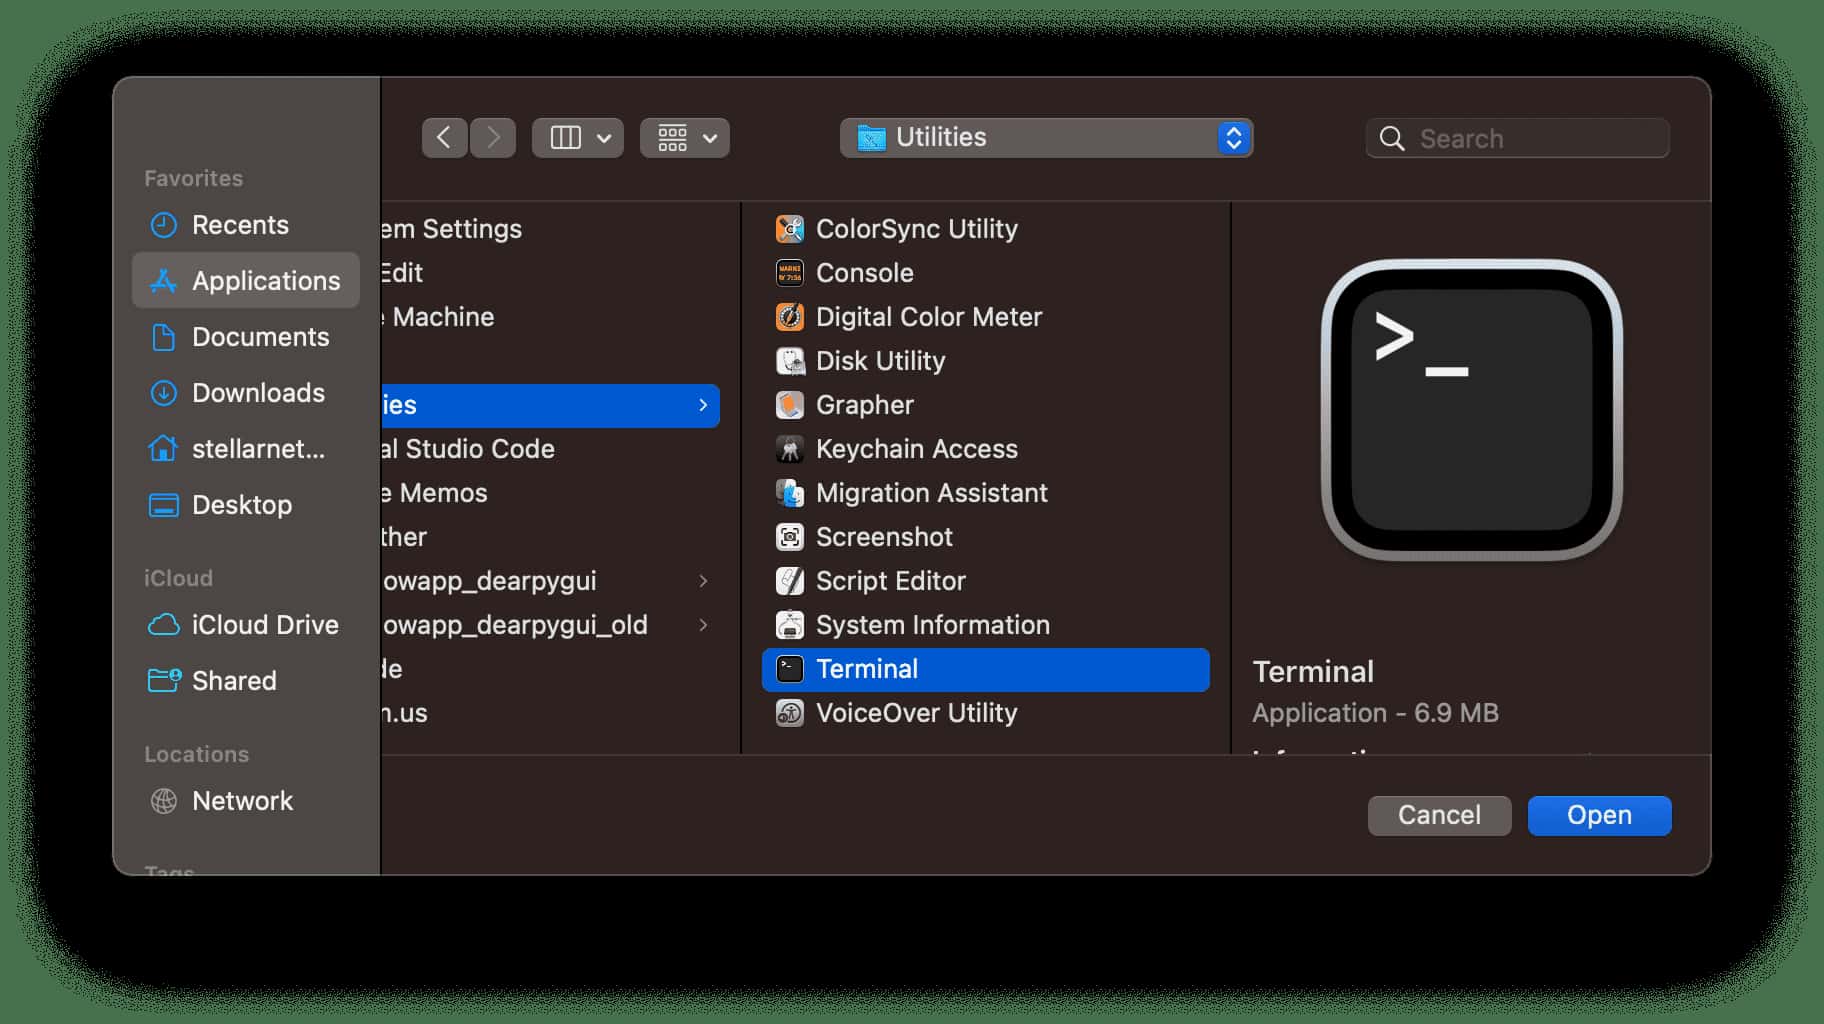
- In the file browser, locate the “Applications” folder -> “Utilities” folder -> select “Terminal” application and click “Open” to allow StellarPro to open in the terminal.
- Now, the StellarPro will be open as an application using the Terminal.
|
- StellarPro is currently not published in the App Store. Therefore, when you double click to run the StellarPro, you will get an error message “StellarPro cannot be opened because it is from an unidentified developer. Follow the steps below for the first time to run the StellarPro:
- Make sure to connect the spectrometer first before start the StellarPro Software.
- Press Control and click on the StellarPro icon, then choose Open from the shortcut menu.
- Click Open. A terminal will open up and the StellarPro application can take up to 30-60 seconds to start up.
- In the future, the user can double click on the StellarPro icon to start the application.
|
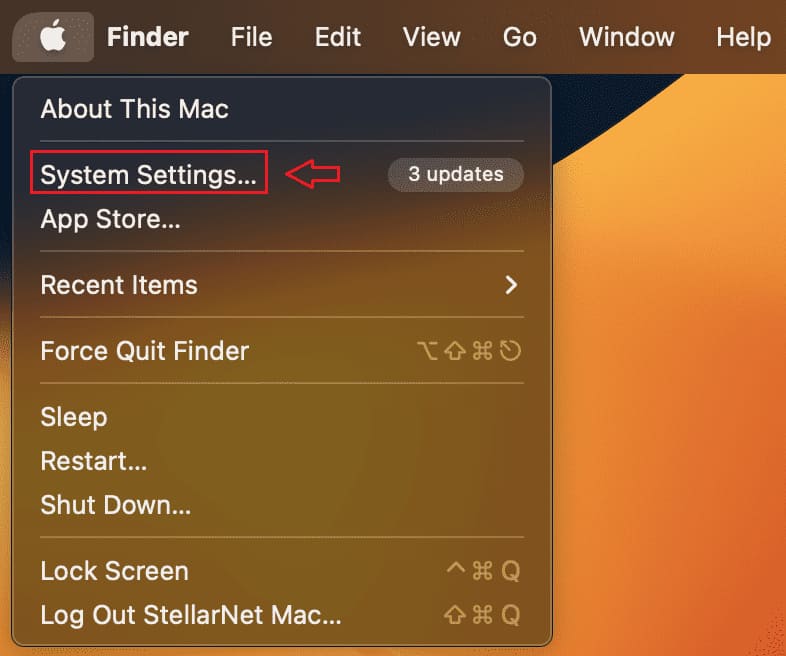
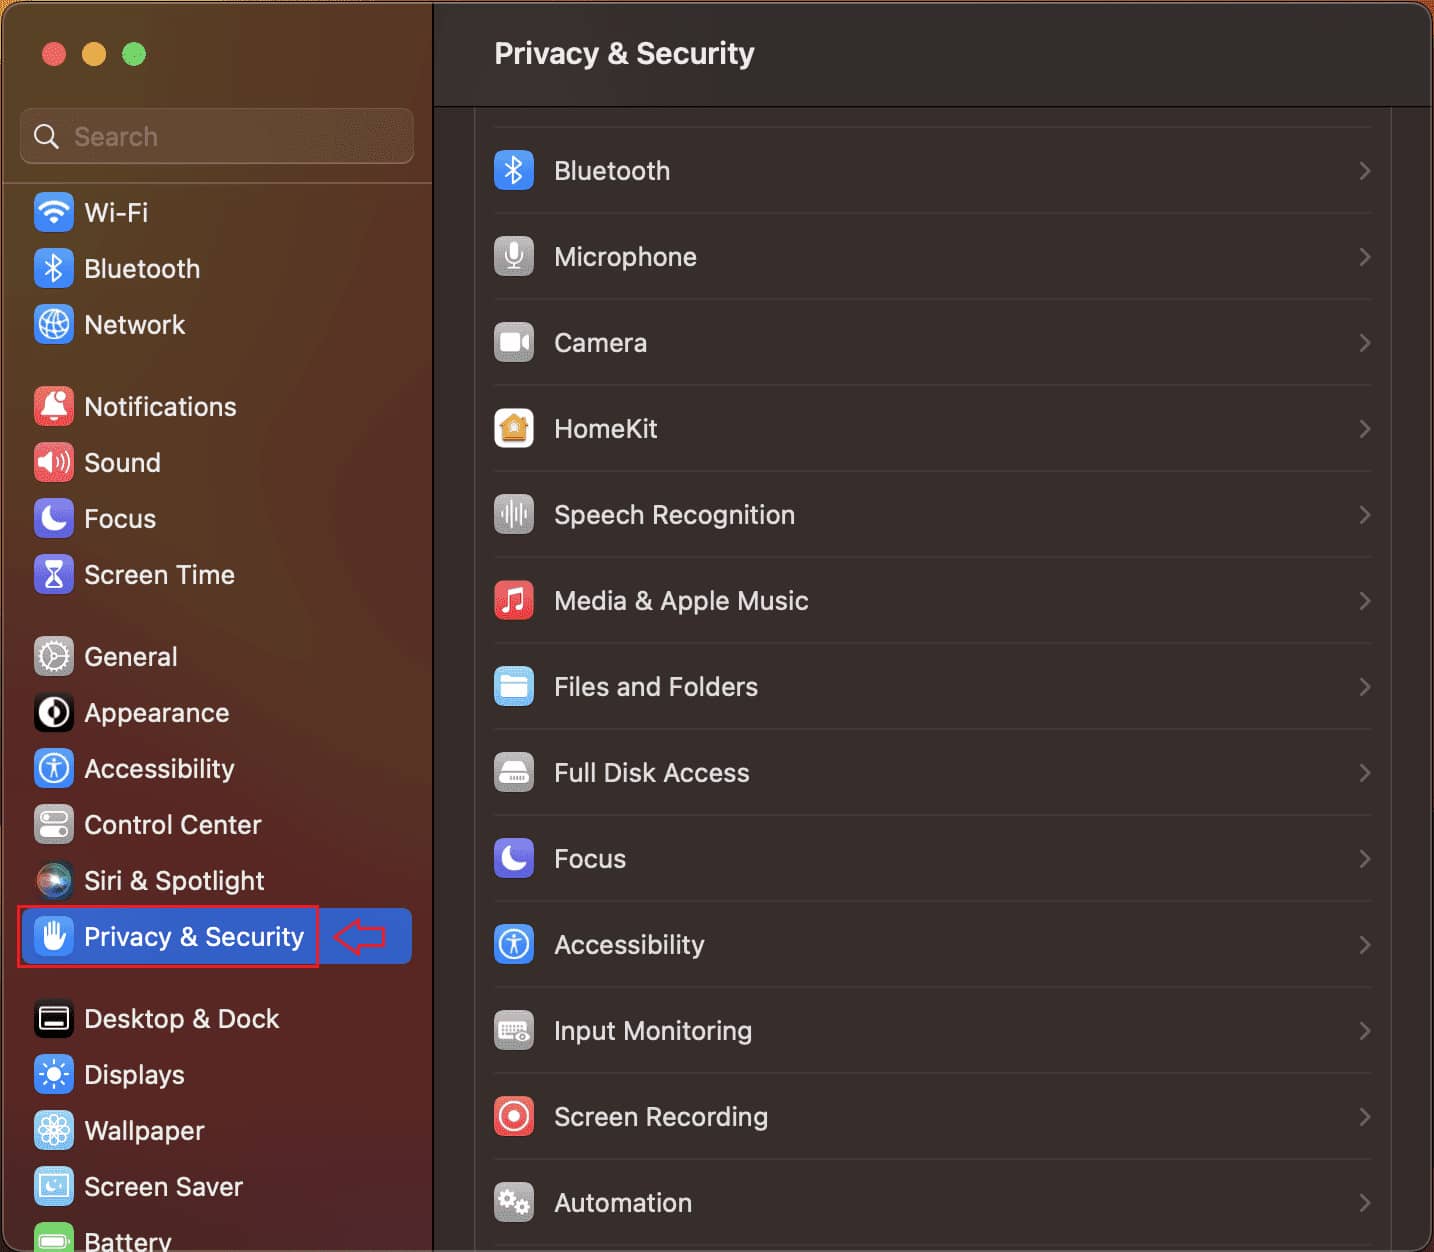
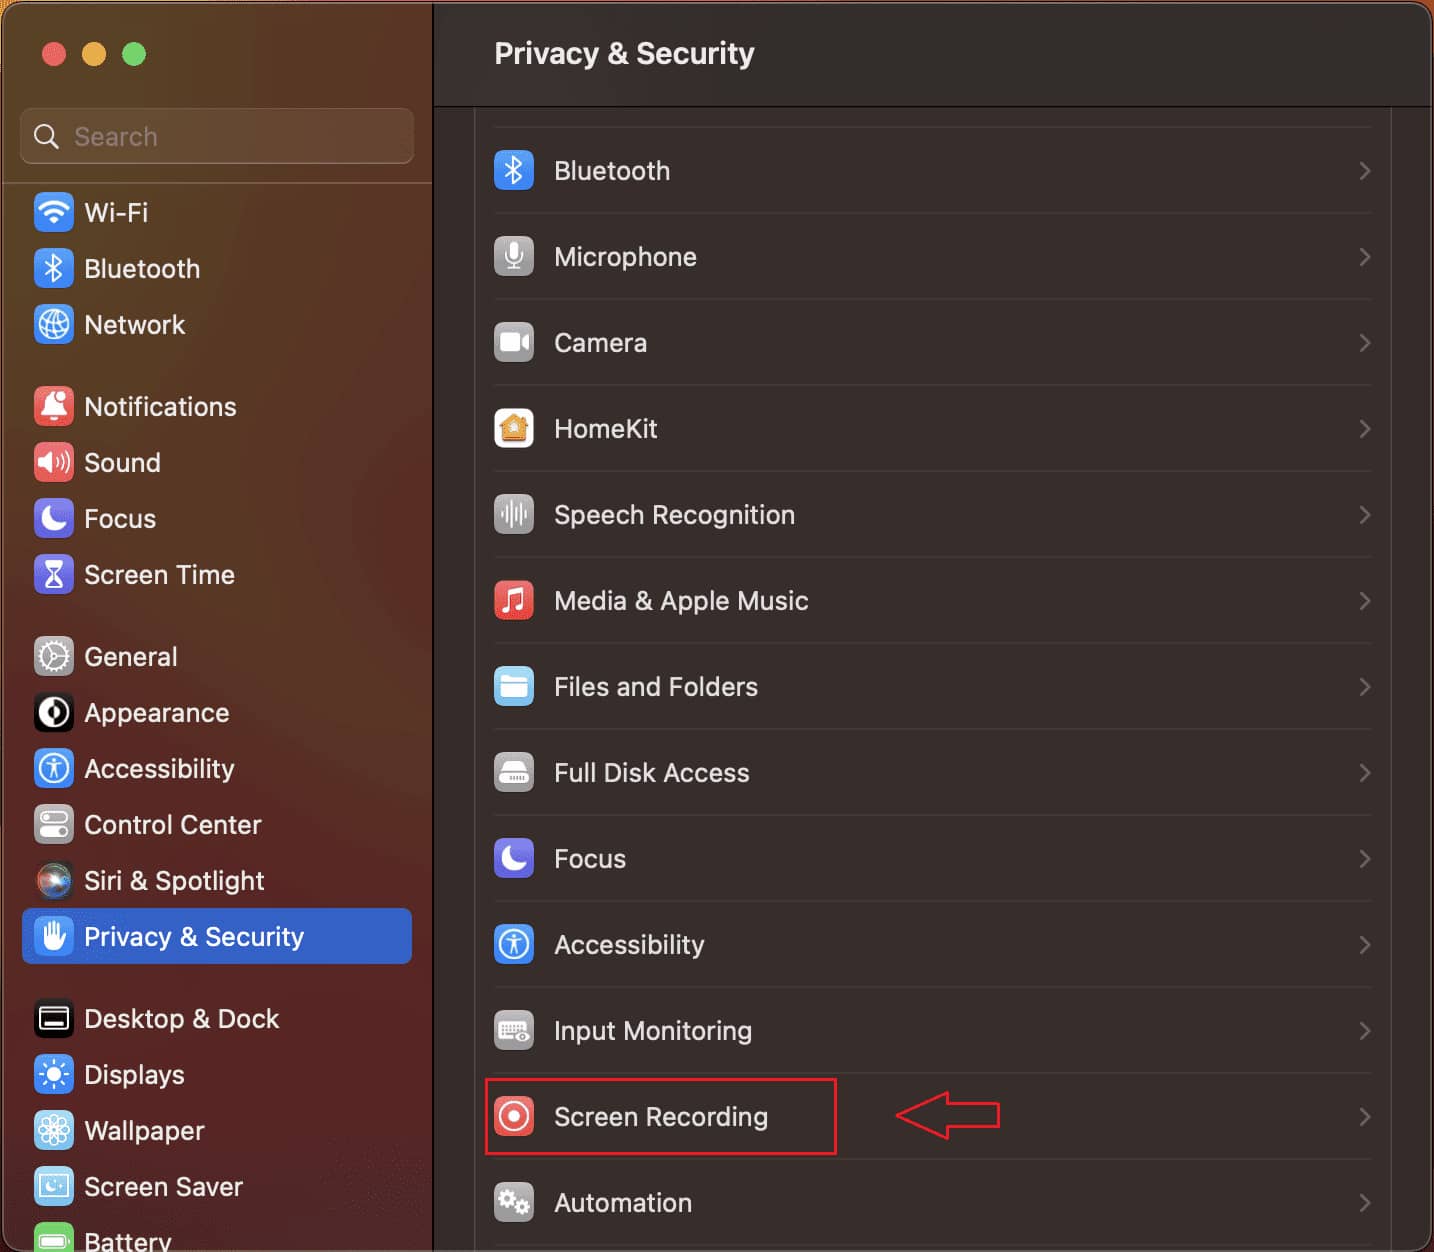
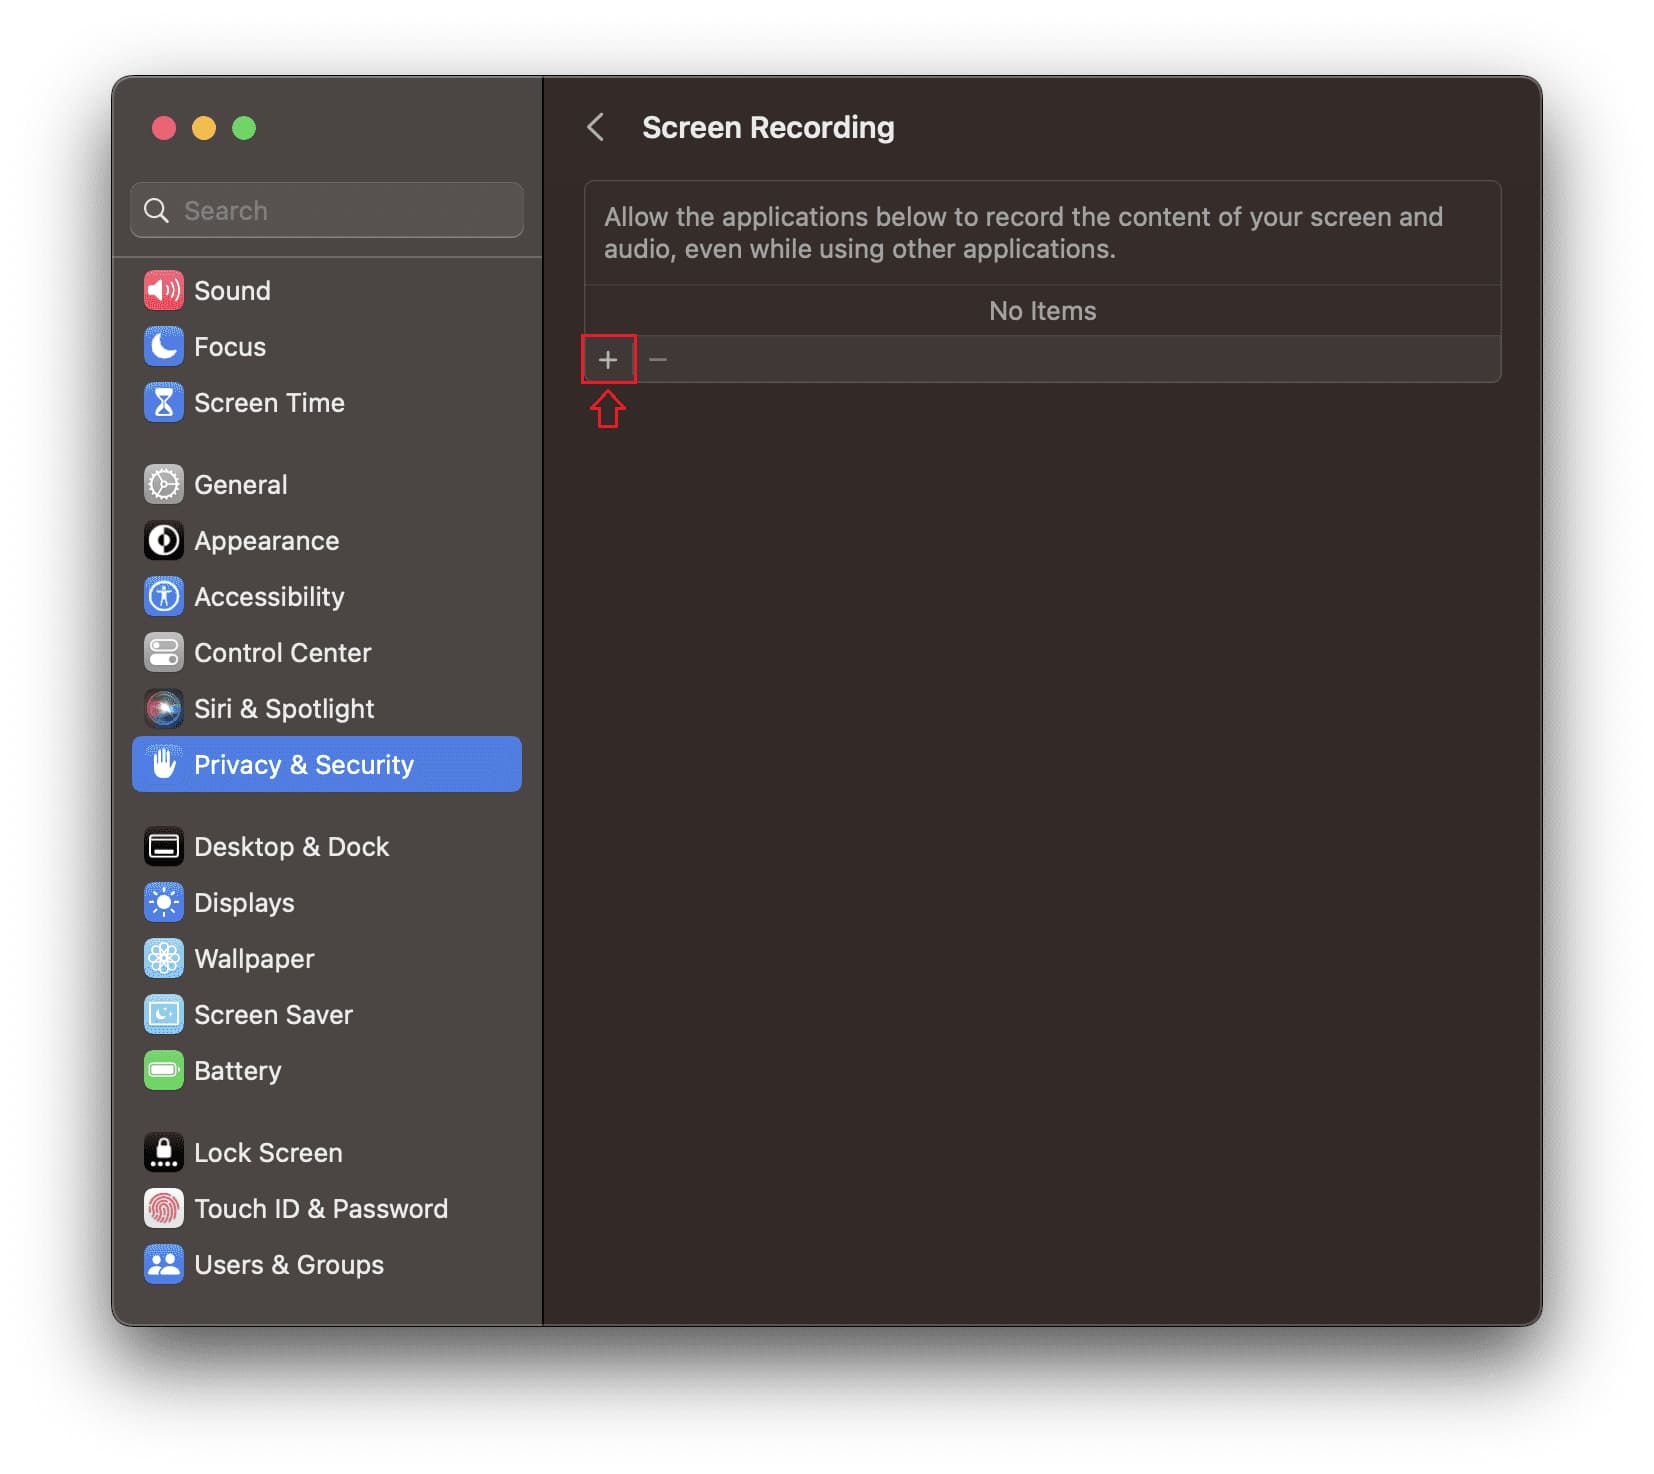
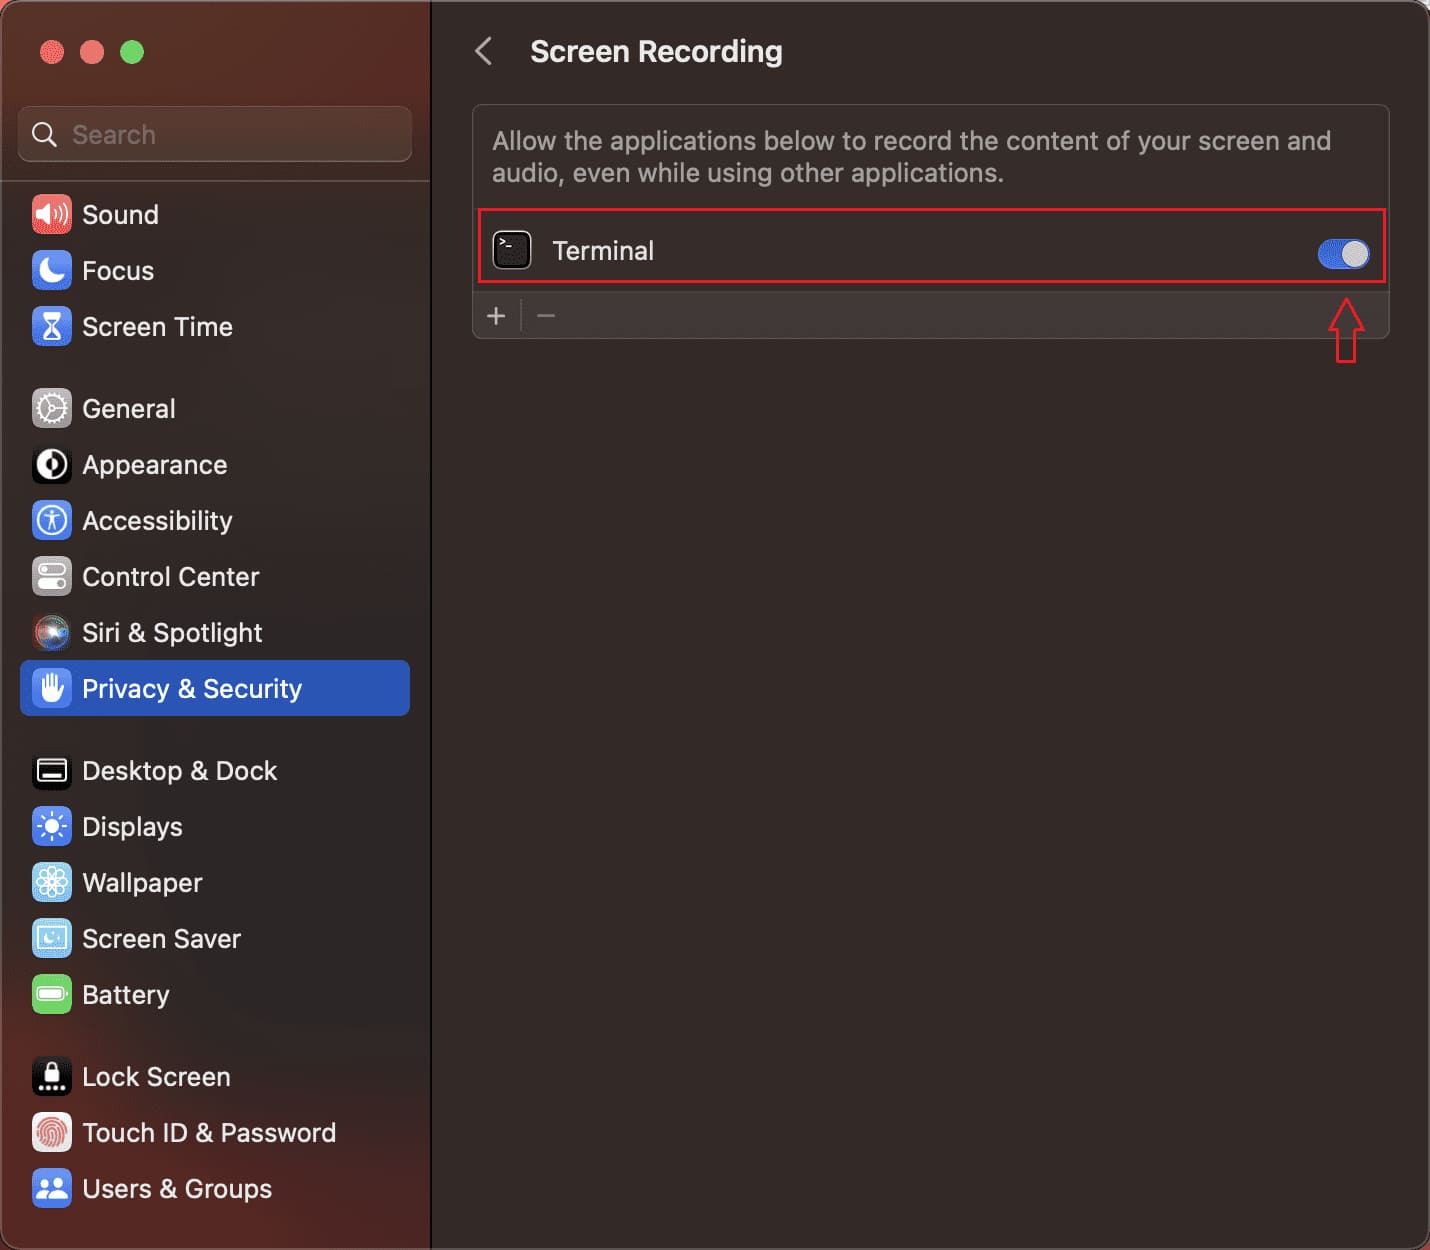
- Follow the steps below to gain permission for screenshot capture for PDF:
|